Creating & Customizing Contribution Forms
ActBlue user roles and permissions dictate what users can do on our platform. If the tools or features in this article are unavailable to you, speak to your entity Admin first about updating your permissions.
In this article:
- Your default contribution form
- Getting around the form editor
- Customizing your contribution form
- Creating a new contribution form
Your Default Contribution Form
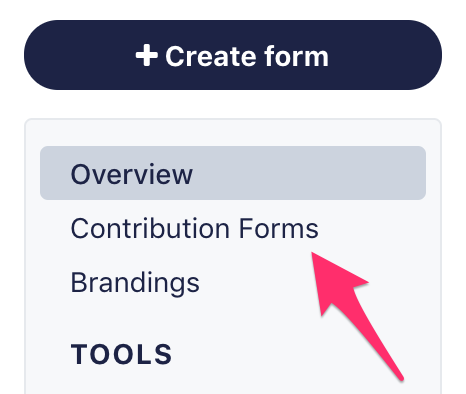
Contribution forms are the building blocks of ActBlue’s platform — they are the pages grassroots supporters make donations on. Once you have an ActBlue account, you should first customize your default contribution form so you can link it on your website, emails, and social media accounts. You can find your default contribution form in the Contribution Forms tab, which you’ll see near the top of your Dashboard toolbar. The default form will be at the top of all of your forms, highlighted in gray.

We recommend that you edit your default contribution form before creating a new one. Your default form provides a good base for customization, and it’s the form that shows up in the ActBlue directory when people click “Donate.”
Getting Around the Form Editor
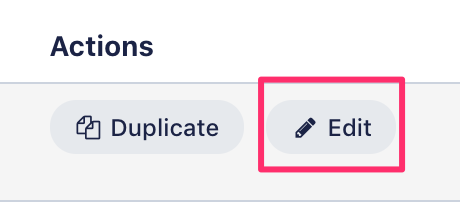
On the Contribution Forms page, click “Edit” to the right of your default contribution form.
This action will bring you to a preview of your contribution form with the
form editor open on the left. While you’re editing, you can view your form as different people: yourself, a first-time donor, a returning donor, or an ActBlue Express user. You’ll find these options at the top right corner in the form navigation bar (form navbar). But note that you can only view your form and donate as yourself when you are not in the form editor.

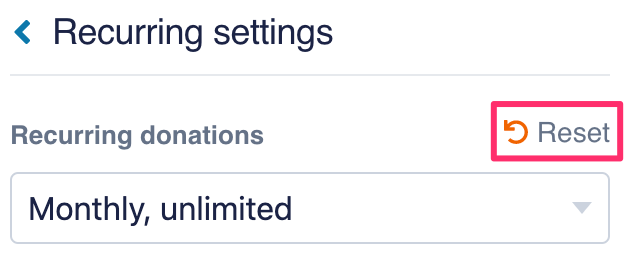
When you change the settings of your form, a small reset button will appear next to the field you edited. If you want to undo that specific change, just click the button.
If you make a change in one tab of the form editor and then go back to the menu without publishing, an orange dot will appear next to the tab name to help you keep track. You can click “Publish” at the top of the form editor to make all of these changes live at once, and the orange dots will disappear.

Read this support article for more details on navigating the form editor!
Customizing Your Contribution Form
Once you’ve opened the form editor, you can begin to explore the options for customizing your form. The following tabs are meant to help you customize your contribution form; the tabs that are not listed (“A/B Testing” and “Tracking”) are more advanced features and are meant to track and analyze your form. If you want to learn more about each feature, click the link to read a more in-depth support site article.
- “Title, ask, and URL”: Here is where you can change three of the most basic and important aspects of a contribution form: title, ask, and URL. Do: Always write a custom title and ask! The ask is where you can explain more about your cause and why you are asking for a contribution. You can also add an image to the donation ask by clicking on the picture icon and selecting a file from your computer. Don’t: Change the URL unless absolutely necessary. If you want a form with a different URL, try creating a new form or duplicating an existing one!

In this tab, you can also add a variety of video types to a contribution form — including livestreams! — so it’s easier than ever to host a virtual event and raise money at the same time. To learn more about this feature, click here.
- “Preset donation amounts“: You can set the donation buttons to any amount you want. Separate the amounts with a comma!
- “Form customization”: In this tab, you can switch the ActBlue-provided text on your form to Spanish! Custom inputs, one of our advanced features, also lives in this tab.
- “Goal tracker“: Goal trackers can track in real-time the dollars raised or number of donations for a contribution form.
- “Branding“: Brandings are custom designs for your contribution forms and receipts. The logo, background color, and donation button color in the example below were all changed in the branding editor. You also have the option of creating reusable brandings, which you can apply to multiple contribution forms!

- “Recurring settings”: The Pop-up recurring and Smart Recurring upsell features will ask your donors to make their one-time contribution into a recurring one. Smart Options, which suggests multiple monthly donation amounts smaller than the one-time donation a supporter just gave, plus the option to set their own monthly amount, is turned on by default for all new contribution forms. In this tab, you can also customize the pop-up text, write a custom recurring ask on your form, and offer a gift as a recurring incentive to motivate your donors to make a monthly donation.
- “Remarketing“: Remarketing sends an email to donors who started making a donation but didn’t finish. You can customize the body text of these emails in this tab.
- “Post-donation upsells”: Choose what type of upsell you would like donors to see after giving: recurring, or Smart Boost.
- “Thanks and receipt“: In this tab, you can customize the text that will appear at the top of your donors’ email receipts, as well as the content of the thank you page that appears after a donor makes a contribution.
- “Social share“: Using this feature, you can customize the image and text that people see when the link to your contribution form is posted on Facebook or Twitter. When picking images to use in your fundraising, keep image vetting and consent best practices in mind. You can also create reusable and default social share settings in this tab.
- “Recipients”: If you want to fundraise for more than one group on a single contribution form, you can add these groups in the “Recipients” tab. Adding more than one recipient makes your contribution form a Tandem form, which you can read more about here.
- “Entry Mode“: Turning Entry Mode on will create an alternate version of your contribution form that does not store any user data in the internet browser. We recommend using this feature when multiple people are giving on the same device, like at in-person events!
Creating a New Contribution Form
After you’ve customized and started using your default contribution form, you can create additional forms. To create a new contribution form, click the “Create form” button at the top of the Dashboard toolbar.
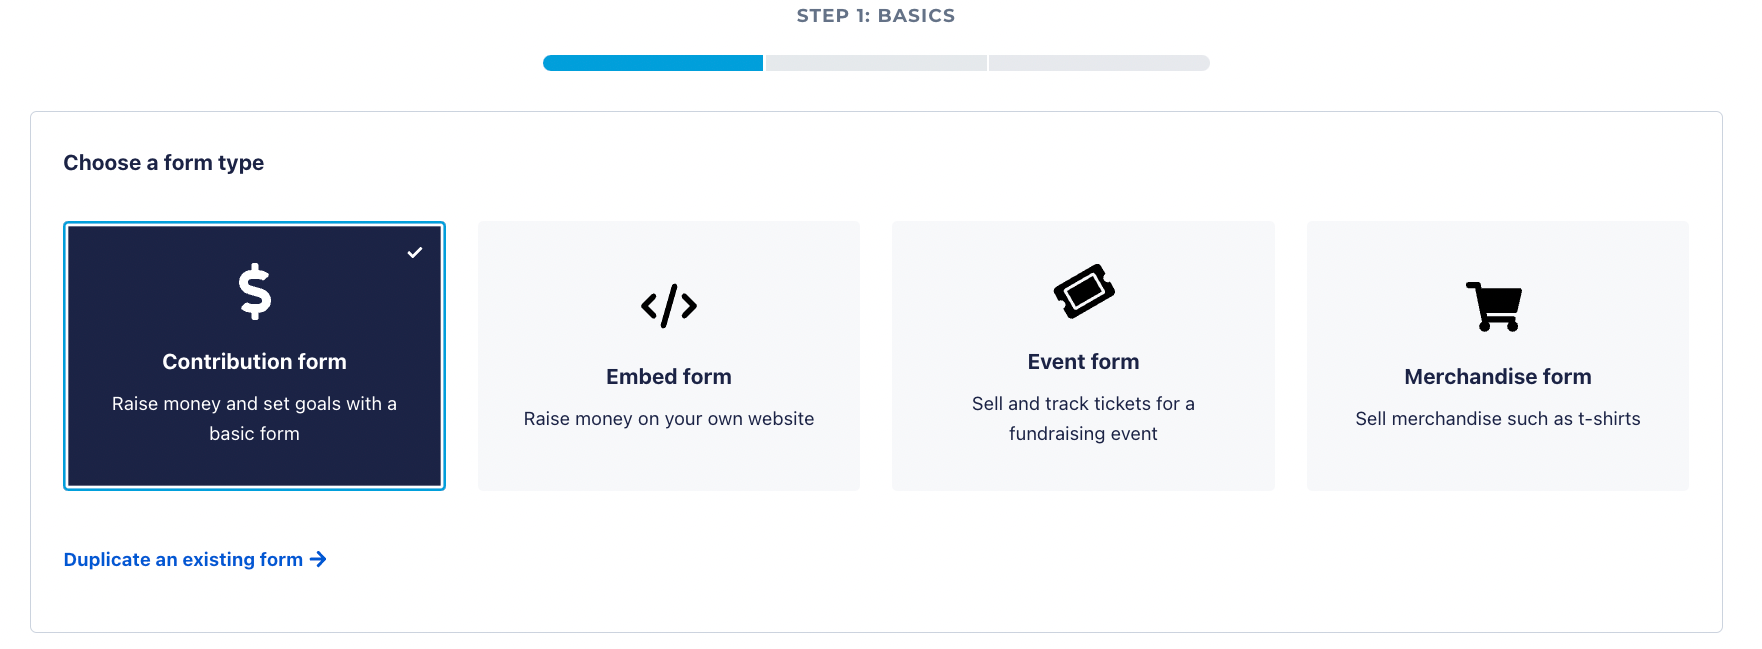
You can now begin customizing your form. If you want to sell and track tickets for an event, click “Event form.” If you’re selling merchandise, click “Merchandise form.” Click “Contribution form” to continue with a regular contribution page.
If you are an admin for a 501(c)(3) or 501(c)(4), you will also have the option to create an embed form. This tool is currently only available for 501(c)(3) and 501(c)(4) admins.
Next, fill in the basic information about your contribution form.
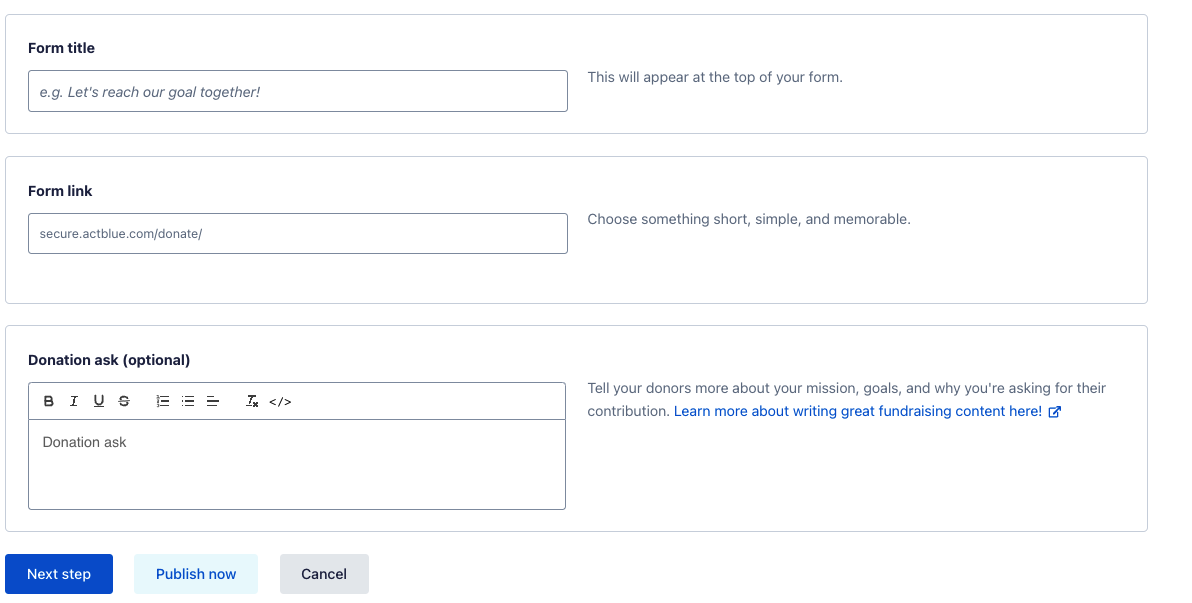
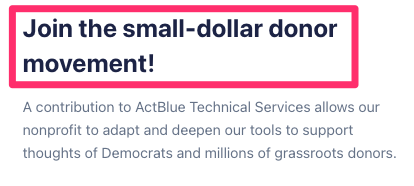
The form title is the biggest text that donors see on the form. You can always change this text in the form editor under “Title, ask, and URL” later. For example, on the contribution form below, the title is “Join the small-dollar donor movement!”
In the “form link” box, type a simple but memorable word related to the content of the form. This word will complete the unique web address for your form, which donors will see in the URL.

The word you put in this box will also be the name of the contribution form in your Dashboard.

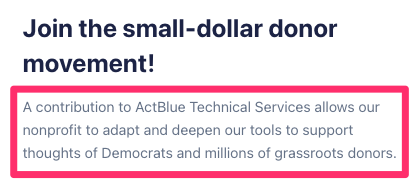
Finally, you can write the donation ask for your contribution form in the “Donation ask” field. The ask is where you can explain more about your cause and why you are asking for a contribution. Like the title, you can always change this text in the form editor later under “Title, ask, and URL.” For example, on the contribution form below, the ask is circled in pink:
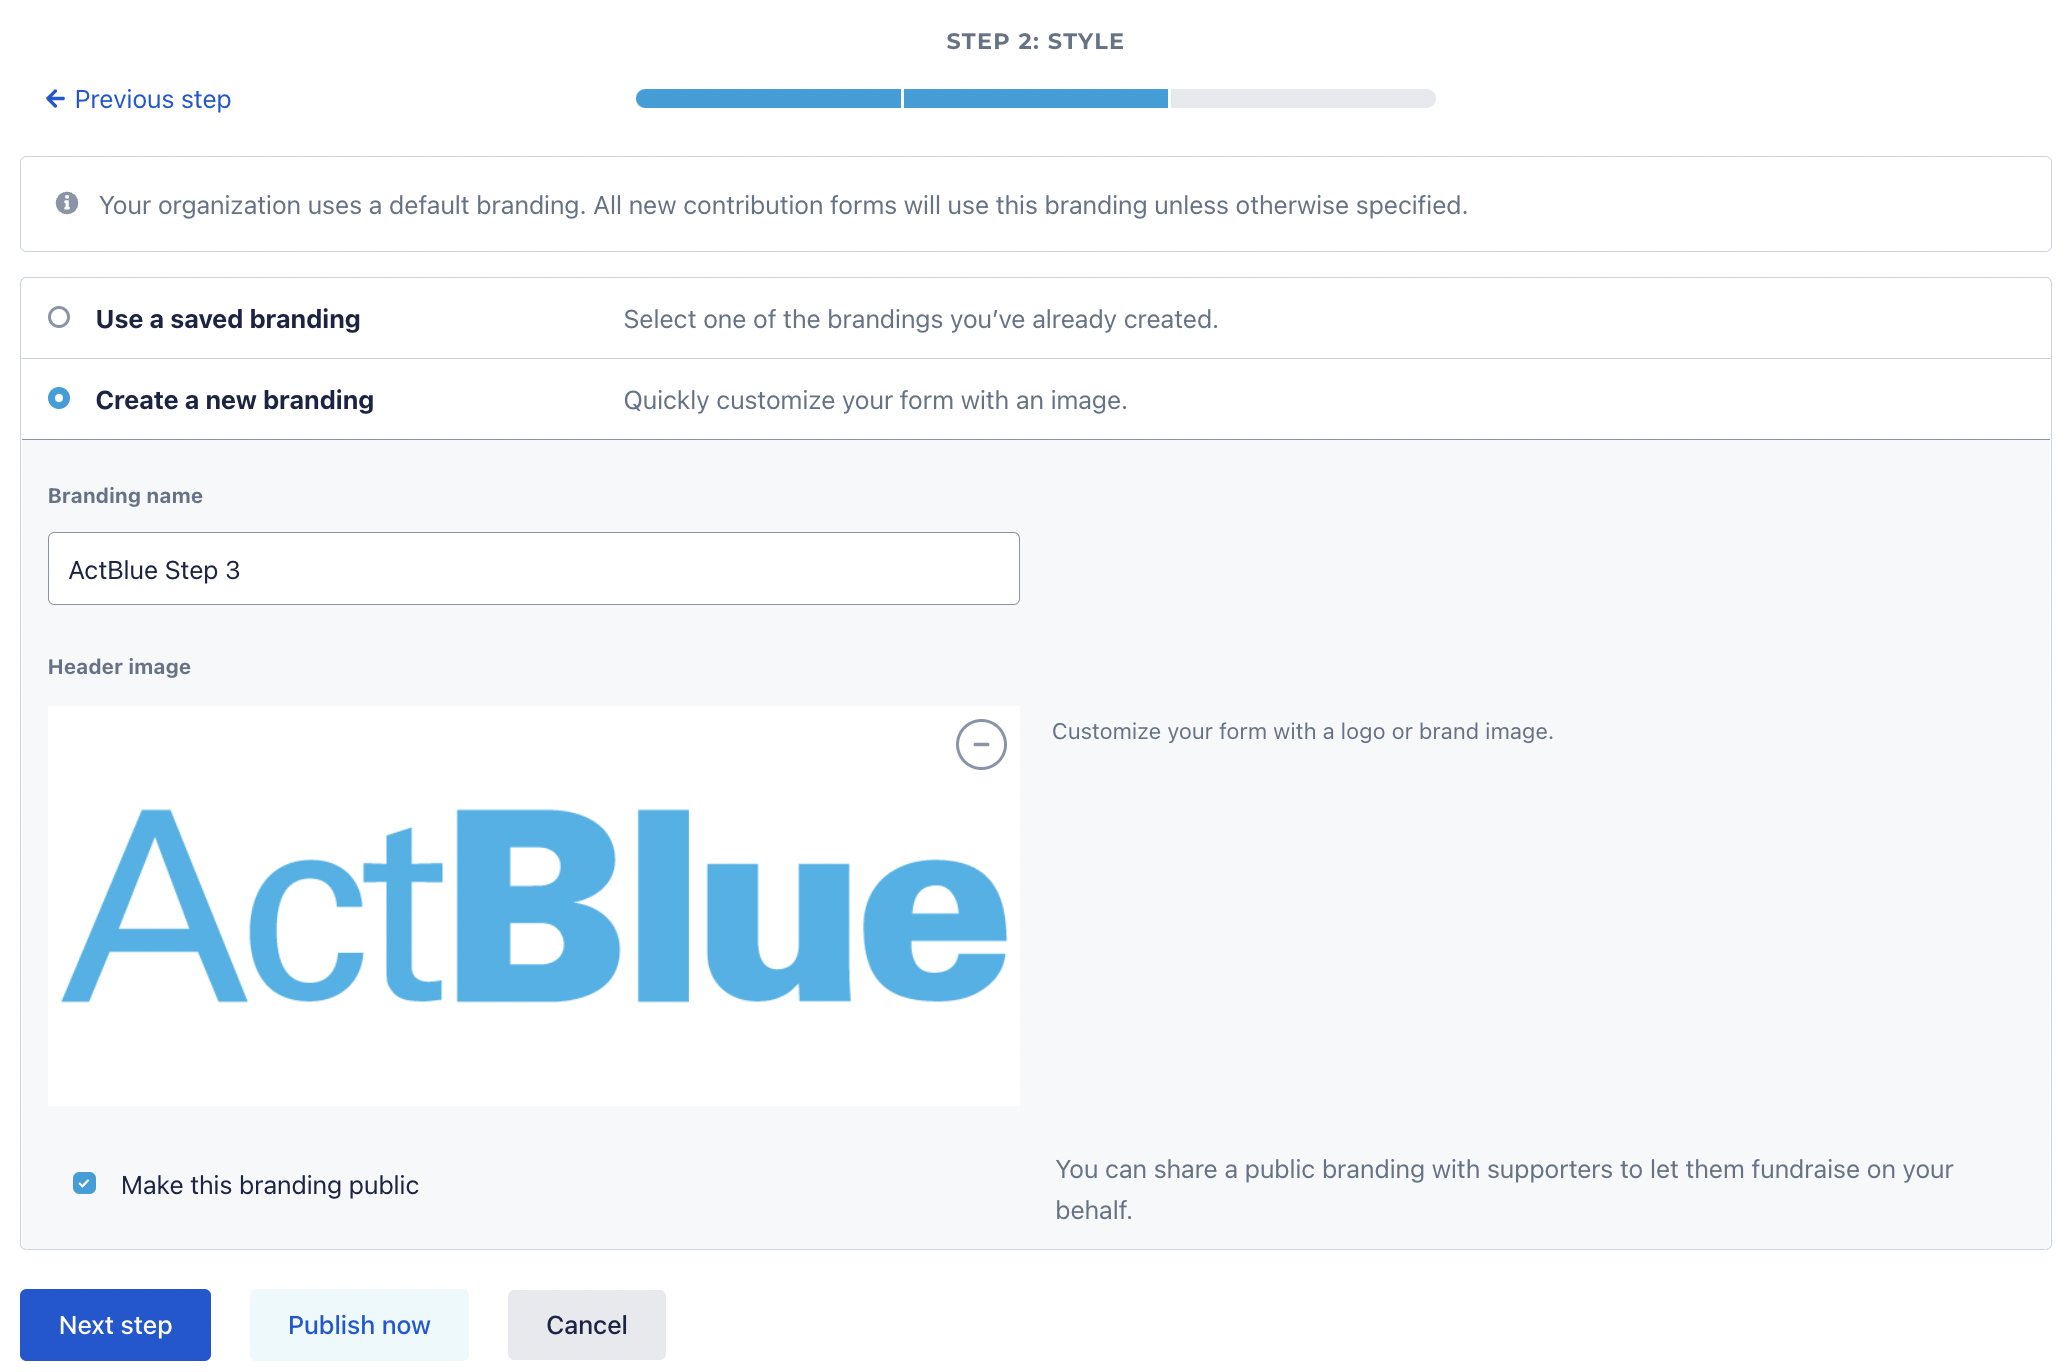
Click “Next step” if you’d like to add a saved branding or a new header image to your form.
You can customize your form’s style by selecting one of your saved brandings. If you have a default branding, this branding will be added to your form automatically. If you don’t want to use a saved branding, select “Create a new branding,” type in a name for your new branding, and upload an image that will show up on your form’s header.
You can also choose to “Make this branding public,” so that supporters can use it to fundraise on your behalf.
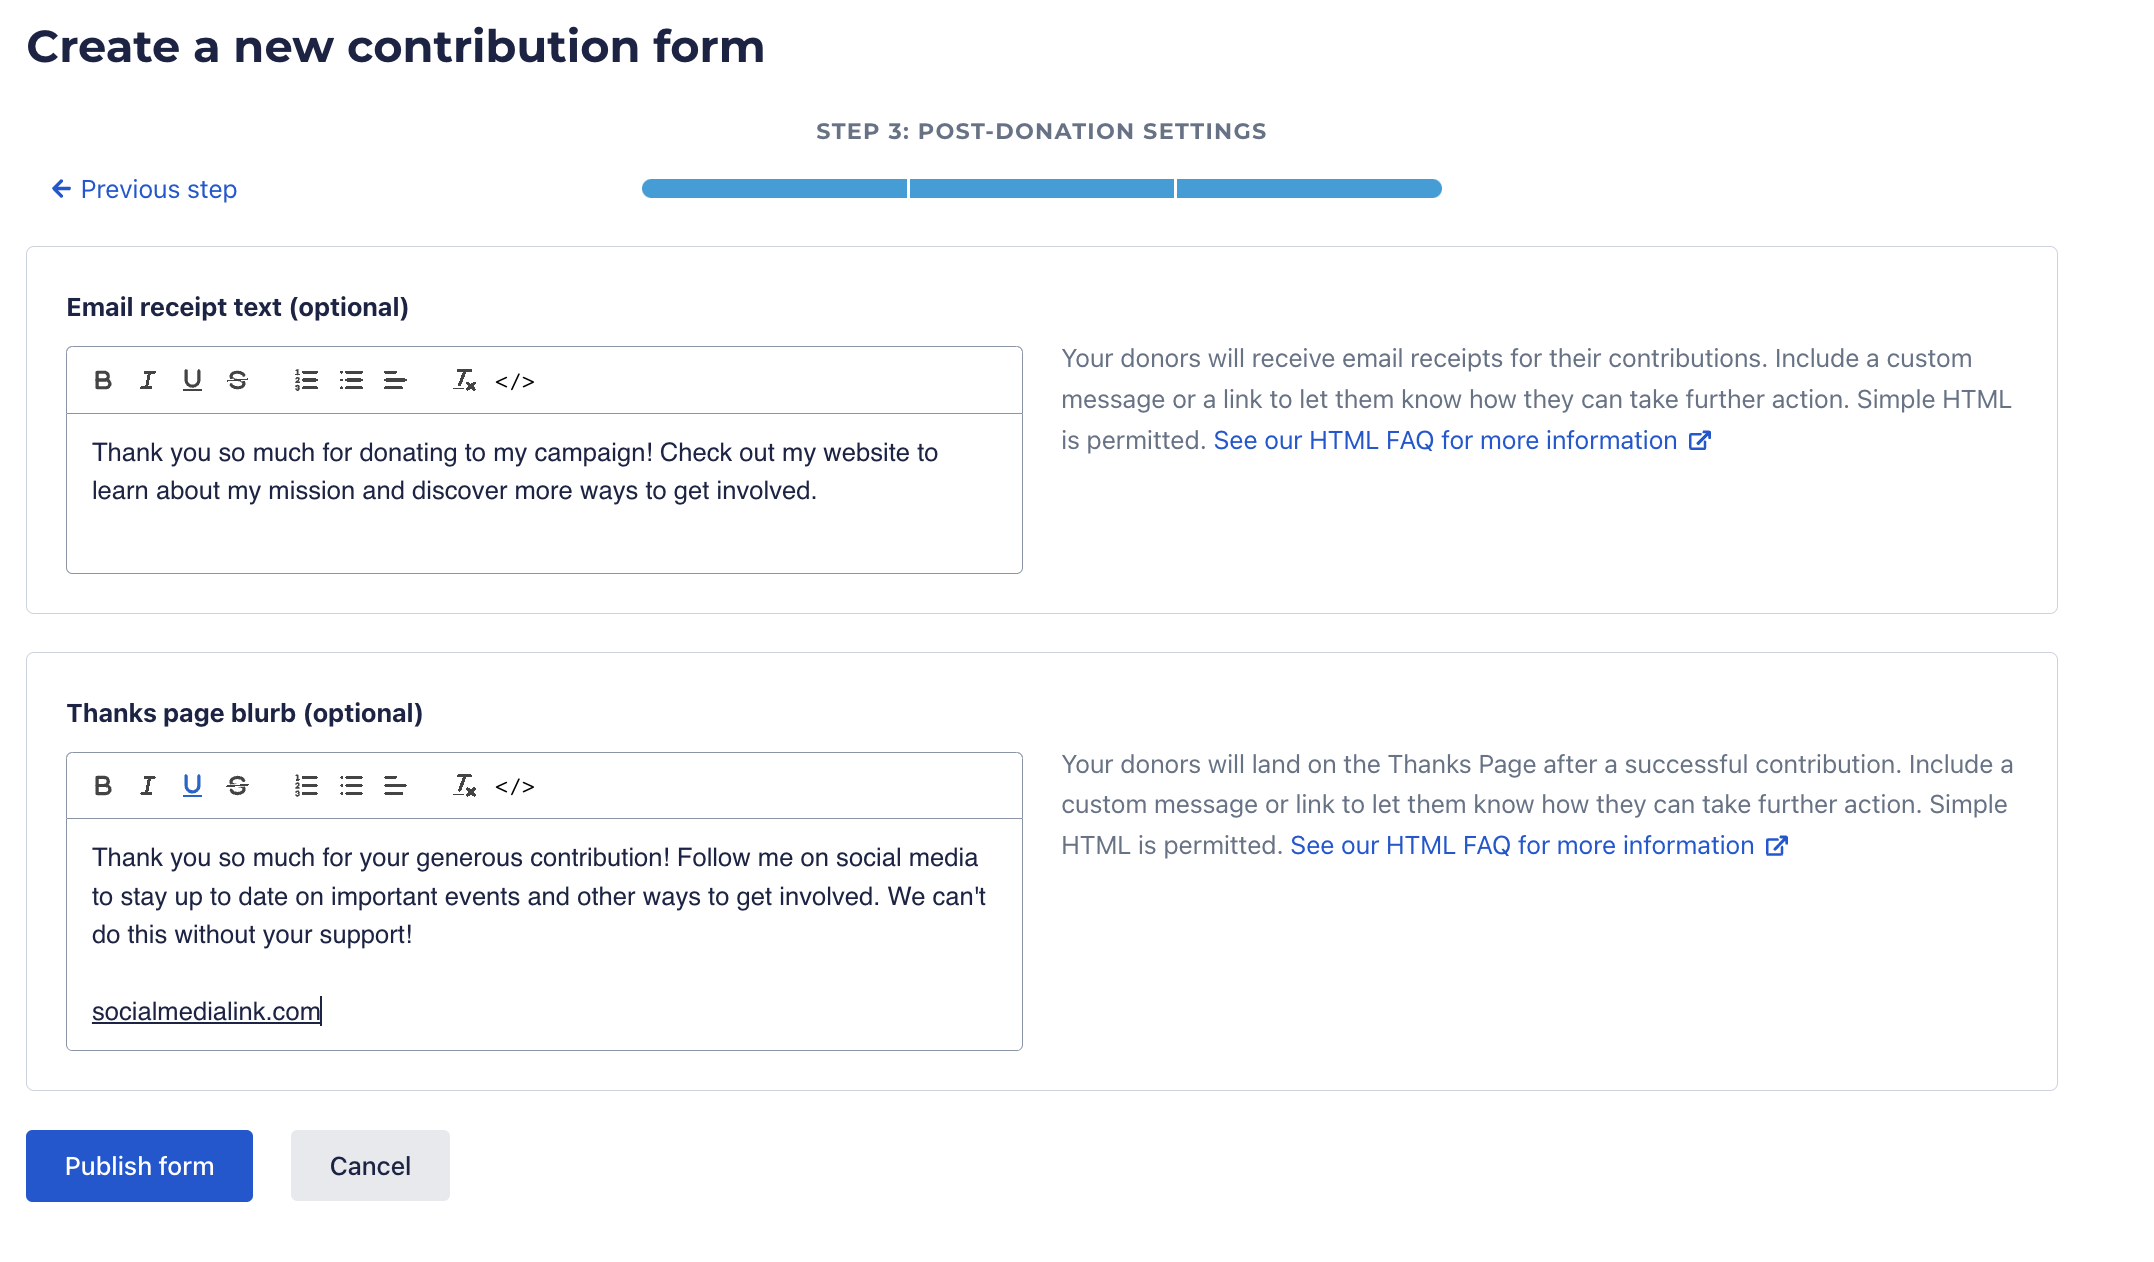
Click “Next step.” You can now input custom text for the email receipt that donors get after donating, and the Thanks page that they see after submitting their contribution.
These are both great opportunities to share important information regarding your cause or campaign. Here are some ideas for utilizing these fields:
- A reminder of when Election Day is!
- A link to your website or social media
- A list of other ways to get involved or a volunteer sign-up page
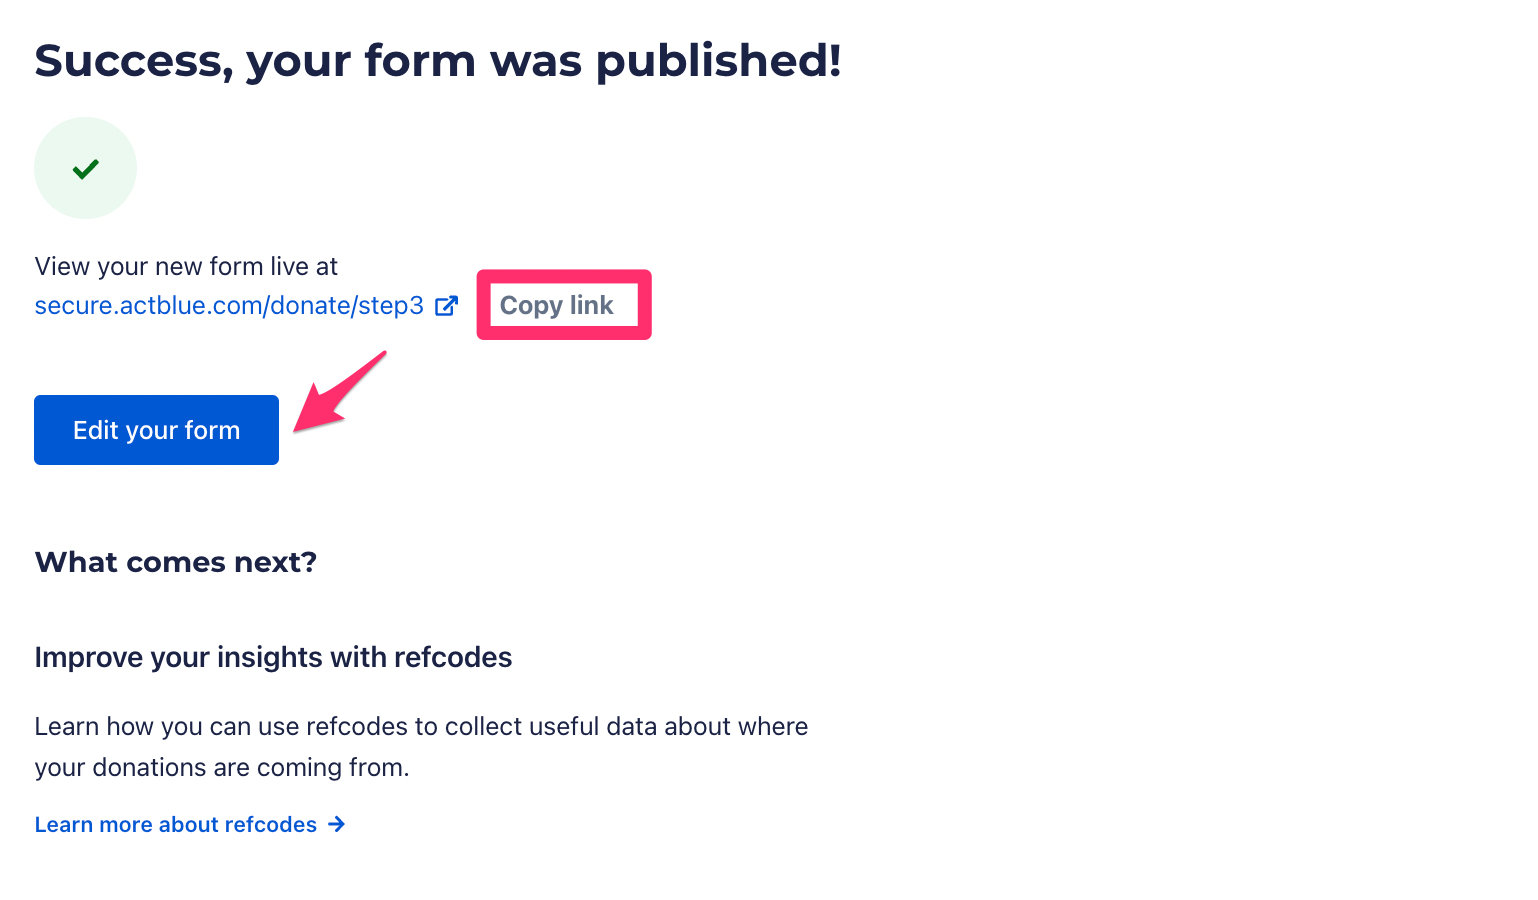
Next, click “Publish form.”
From here, you can copy the link to your form, as well as navigate to the form editor if there are any further changes you would like to make.
The amount of support that the ActBlue Customer Service Team can provide is dependent on the permissions that you have. Check with your entity Admin about your assigned role.
If you have any questions, please contact our support team using the email address you use to access your ActBlue account.
Additional Reading
Image Vetting and Consenting
In this article: Why is proper image use important? Best Practices: Sourcing images for fundraising Why is proper image use important? Images create a more personal, personable online presence,…
Sending & Evaluating Contribution Forms
ActBlue user roles and permissions dictate what users can do on our platform. If the tools or features in this article are unavailable to you, speak to your entity…
Downloading Your Data for Compliance
ActBlue user roles and permissions dictate what users can do on our platform. If the tools or features in this article are unavailable to you, speak to your entity…
Getting to Know Your ActBlue Account
ActBlue user roles and permissions dictate what users can do on our platform. If the tools or features in this article are unavailable to you, speak to your entity Admin…