Setting up a Meta conversions API integration
ActBlue user roles and permissions dictate what users can do on our platform. If the tools or features in this article are unavailable to you, speak to your entity Admin first about updating your permissions.
In this article:
- What is a Meta Conversions API Integration?
- Connecting to your Meta Business account
- Setting global tracking on your contribution form
- Managing your Meta Conversions API integration
What is a Meta Conversions API Integration?
Please note that the Meta Conversions API works best as an add-on on top of our existing Meta ad tracking integration.
The Meta (formerly known as Facebook) Conversions API increases the percentage of conversions from Meta ads that the platform can track and link to a known Meta user. Conversions are contributions made on an ActBlue contribution form. This self-serve integration allows you to track who sees your Meta ads, clicks on them, and proceeds to make a donation, allowing you to improve targeting and save advertising money.
There are a few important things to note before you get started.
- It could take up to two hours for Meta to process this integration and start receiving data.
- You need the right permissions in your Meta account to generate an access token, which is required to set up this integration. Contact your Meta Business admin for access.
- This integration does not send historical data to Meta
- This integration only sends contribution (conversion) data
- Meta will present you with a low Event Match Quality score in your Events Manager. This is because Meta wants more user data than our security policy allows us to send. You will still see conversion results despite this low score.
Connecting to your Meta Business account
To get started, make sure you have your Meta/Facebook login information handy.
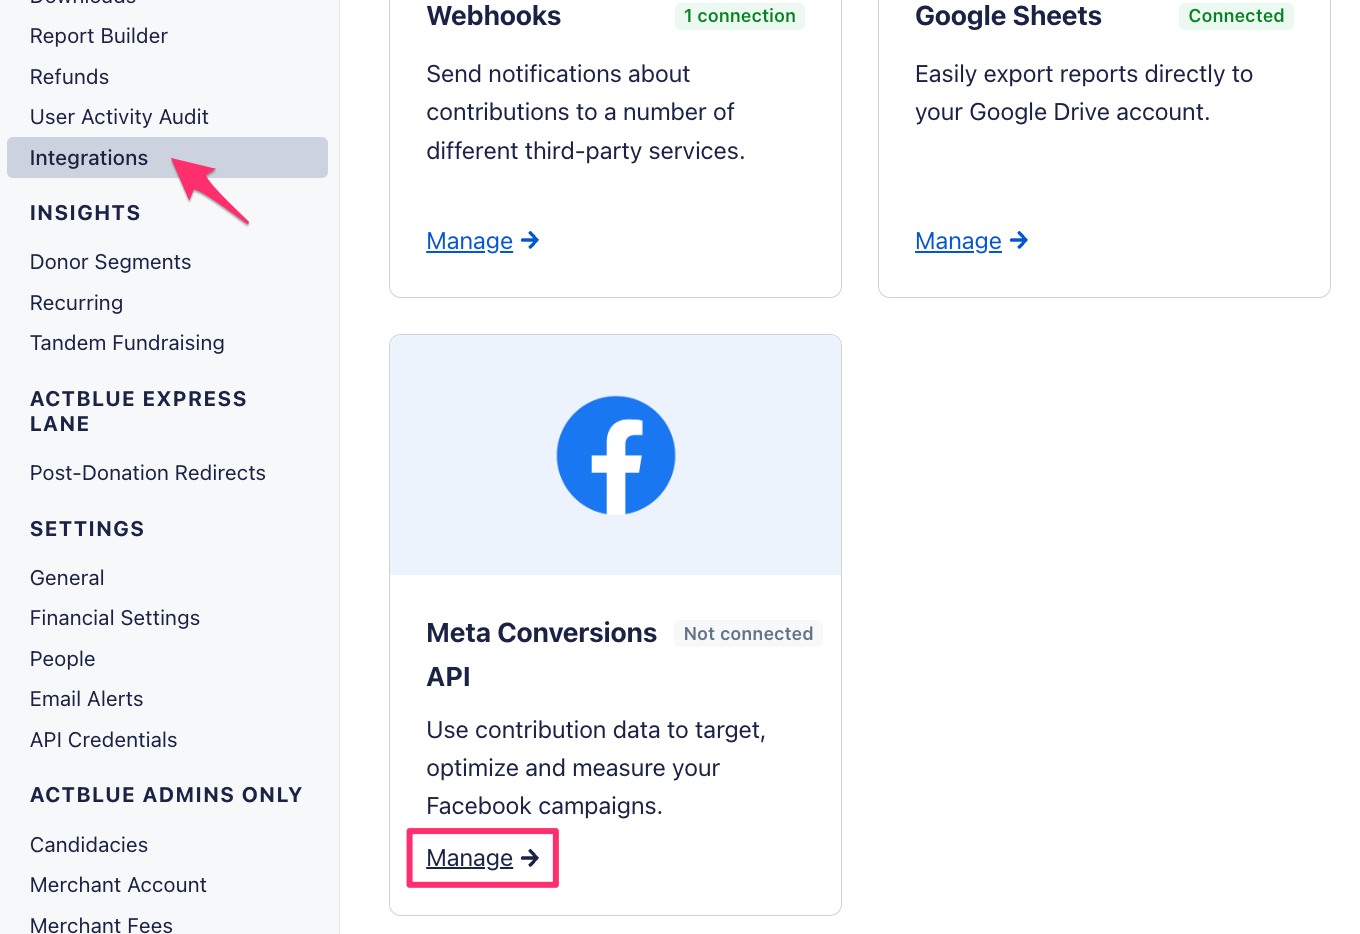
From your dashboard, click on “Integrations” from the Tools section of your left navigation bar.
In the Meta Conversions API tile, click “Manage.”
Click the blue “Connect” button on the Meta Conversions API page.
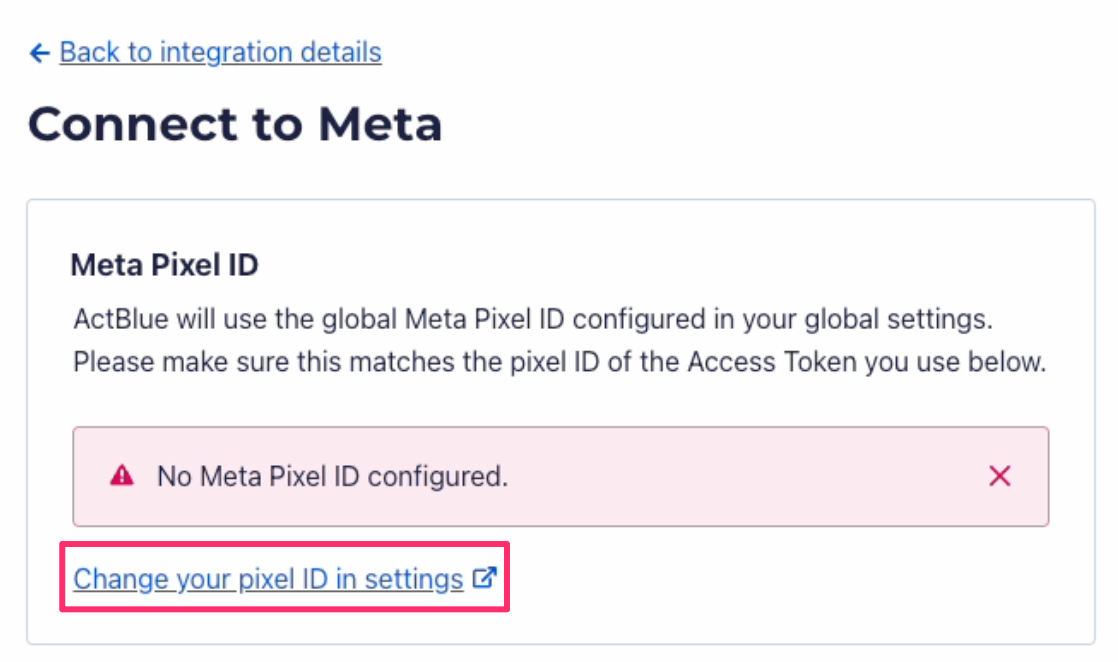
Step 1: Connect to Meta with your pixel ID
If you don’t currently have a Meta Pixel ID configured, you’ll need to copy it from your Meta Business Suite:
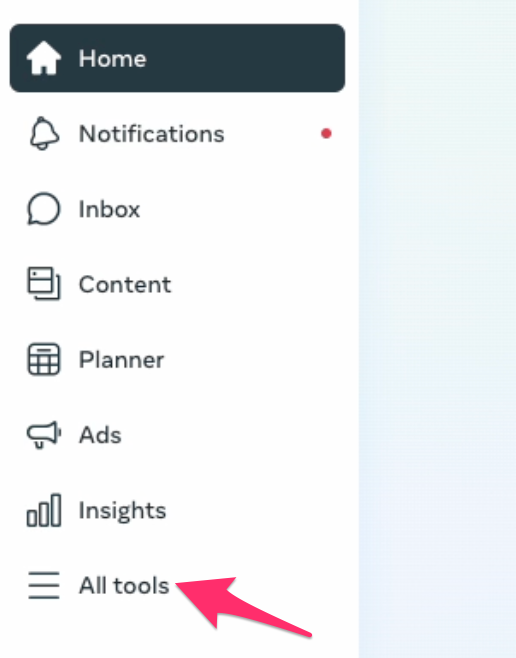
From Meta Business Suite, click “All Tools” in the left navigation bar.
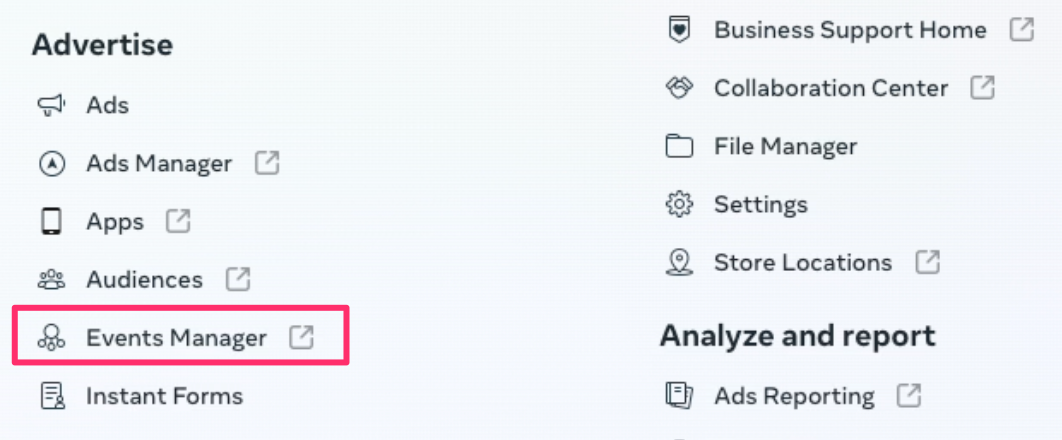
Under “Advertise,” select “Events Manager.”
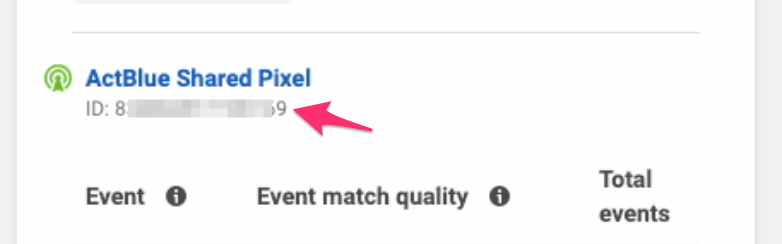
On the left-hand side, you should see your Meta Pixel ID. Copy that number to your clipboard.
Return to the Connect to Meta page in your ActBlue account and click the “Change your pixel ID in settings” hyperlink.
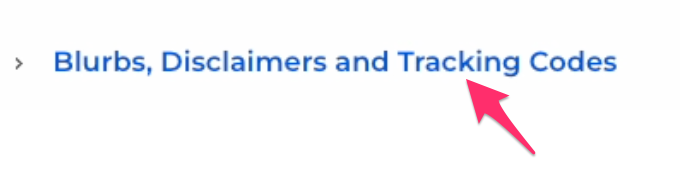
You will land on your ActBlue General Settings page. Scroll down and click on “Blurbs, Disclaimers, and Tracking Codes.”
Scroll down to the Meta (Facebook) section, and paste that number in the “Pixel ID field”
Don’t forget to click “Save changes” at the bottom of the page.
Return to the “Connect to Meta” tab in your browser and refresh the page. Your pixel should now appear in the box.
Step 2: Paste your access token
Next, paste your Conversions API Access Token into the field. The Access Token must be created specifically for the Meta Pixel ID being used. Learn more about generating this token on the Meta for Developers support page.
Click the blue “Connect” button. Your Meta Conversions API is now integrated with ActBlue!
Setting Global Tracking on your contribution form
In order to track conversions from a Meta ad to a donation on a specific ActBlue contribution form, you have to enable Global Tracking for that form. This will associate the form with the Meta Pixel ID you saved on your ActBlue General Settings page.
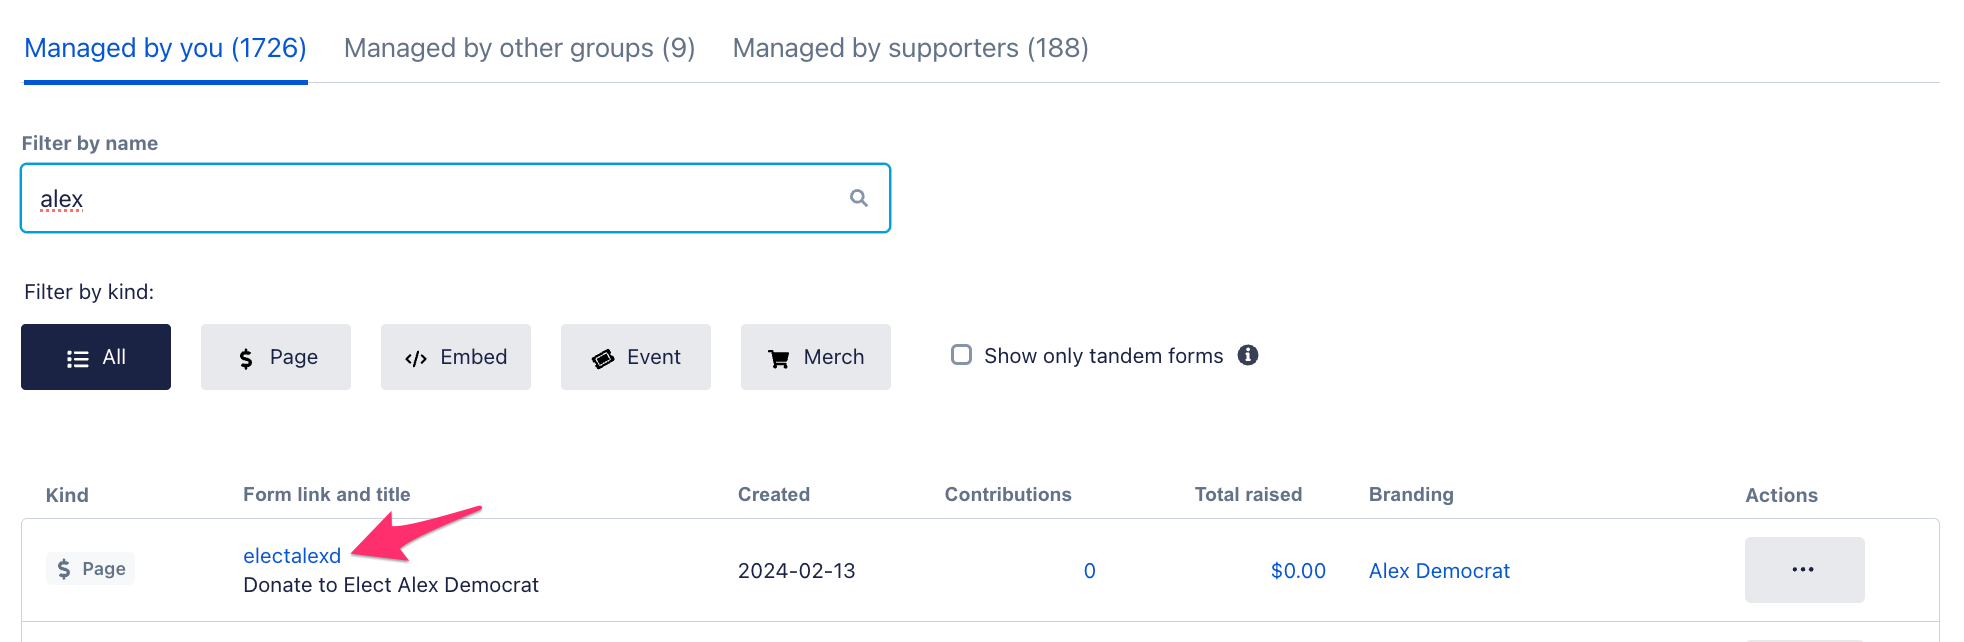
Select the form you want to use in your ad from the Contribution Forms page.
You will land in the Form Editor.
Click “Edit” in the top left corner, and select the “Tracking” tab.
Scroll down to “Facebook” and turn on the Global toggle.

Don’t forget to click “Save.”
Managing your Meta Conversions API integration
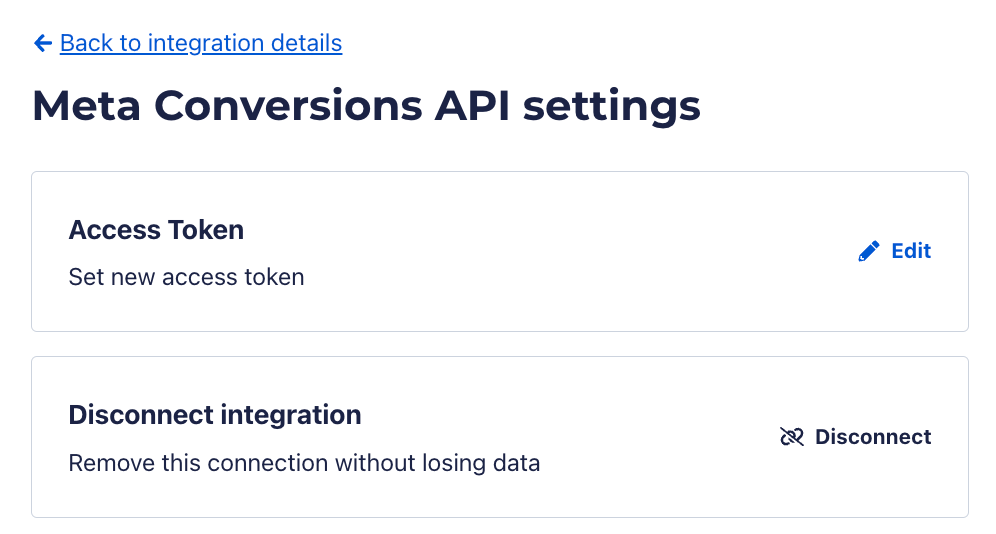
To manage this integration, click on “Settings” from the Meta Conversions API page.
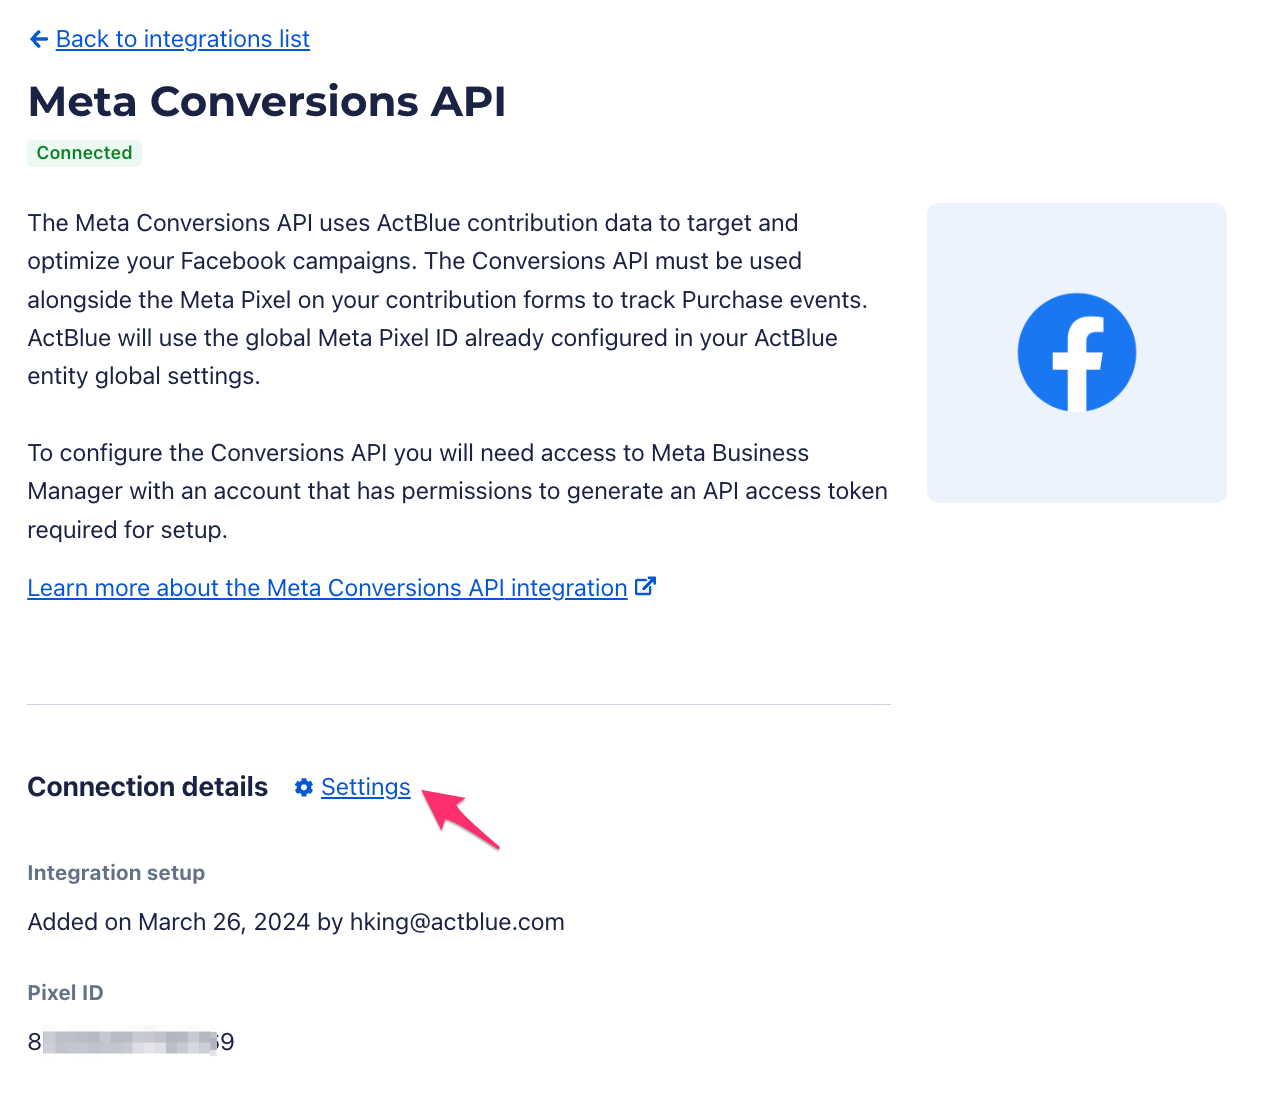
From the Settings page, you can edit your Access Token if it ever changes in your Meta Business Manager. You can also disconnect your Meta Conversions API integration altogether.
The amount of support that the ActBlue Customer Service Team can provide is dependent on the permissions that you have. Check with your entity Admin about your assigned role.
If you have any questions, please contact our support team using the email address you use to access your ActBlue account.